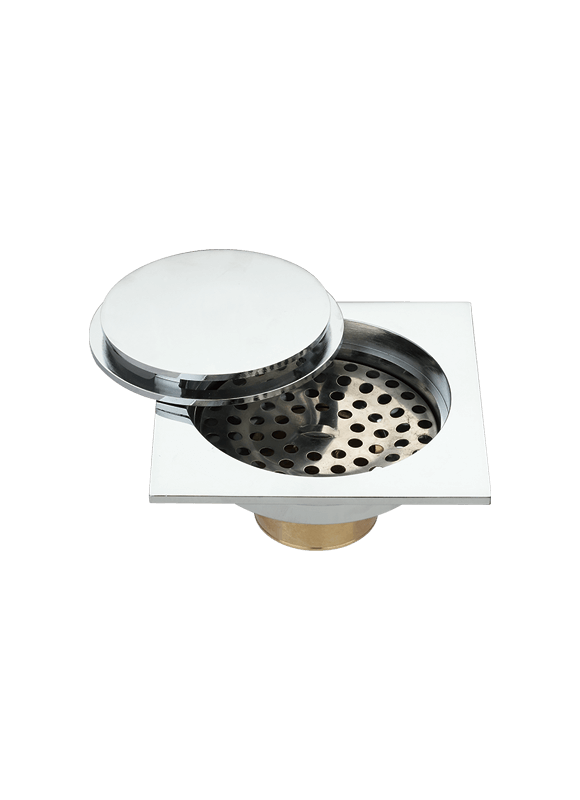
Before installing a new floor drain, remove the old floor drain and discard it. The installation of the new floor drain is divided into two parts, one is the installation, and the other is the surrounding waterproofing.
One, bathroom floor drain installation
1. In many cases, the reserved holes for the drainage channels of the real estate business are relatively large when handing over the house. Therefore, when refurbishing the reserved drainage holes, they should be completely consistent with the floor drain purchased. Usually, the opening diameter of the floor drain grate should be controlled at 6 Between -8mm, it can prevent hair, sludge, sand and other dirt from entering.
2. When installing the floor drain, the multi-channel floor drain is a product developed in recent years. A body usually has 3 to 4 water inlets (to undertake the washing machine, bathtub, washing machine and floor drainage). This structure not only affects the drainage of the floor drain, but also It also does not conform to the actual design situation, so when the installation leaks, the water inlet of the multi-channel floor drain should not be too much. There are two (the ground and the bathtub or the ground and the washing machine) that can fully meet the needs.
3. If you want to install a floor drain, add it in the place where there is no floor drain. Usually, two methods are used: one is to punch it through the floor and re-lay the water pipe; the other is to raise the ground. And down the water pipe.

Two, bathroom floor drain waterproof method
1. Determine the elevation floor drain, install the fixed cushion, find the slope, lay the leveling layer, and lay the surrounding sealing and waterproof additional layer, lay the waterproof layer, store the water test, and lay the floor drain grate on the surface layer; fill the slab hole:
2. After the floor drain and the riser pipe are installed and fixed, clean the concrete and stones around the hole, and then support the formwork at the bottom of the slab, pour it with water and moisten it, pour the C20 concrete mixed with expansive fine stone, and tamping, blocking and wiping. level;
3. Find the slope and leave the groove: find the slope on the ground, find the 1%~2% slope of the leveling layer to the floor drain, the drain slope of 50mm outward from the side of the floor drain is 3%~5%, and leave a 20mm×20mm groove around the top of the floor drain .
4. Groove-filling coating film: The grooves around the upper mouth of the floor drain are filled with sealing material tightly, and then an additional waterproof layer of coating film with carcass reinforcement material is added, and the depth of the additional layer of coating film extending into the floor drain cup mouth should not be less than 50mm, then apply waterproof coating according to the design requirements;
5. Water storage test: do a good job of water storage test carefully and observe that there is no leakage as qualified;
6. Waterproof tray: In order to solve the problem of water leakage around the floor drain due to the small bottom of the cast iron floor drain and the poor combination with concrete, a waterproof tray can be added to the original leaking location to improve the waterproof quality of the floor drain.


 English
 España


